Silver clay lets people sculpt fine silver at a desk, then fire the binder away. That sentence is true and incomplete. Fired silver clay is porous compared with many cast or milled silver parts. It can look like jewelry and still snap like a bad cracker if the design is too skinny.
This guide is a beginner map with controversy labels. Where makers disagree, we say so. Where a manufacturer PDF exists, that PDF wins.
AI Summary
Overview
Dry completely first. See drying silver clay before firing.
Fire according to your clay brand and equipment manual. Torch, gas stove, and kiln schedules are not interchangeable folklore.
Makers argue about whether pieces must glow red. Treat "glow cues" as disputed peer tips, not universal law.
After firing, brush off white residue, sand, and polish. Expect a learning curve.
For rings, avoid hair-thin shanks and open styles that flex. Many makers use a silver wire/band core and clay for decoration.
What You Are Actually Making
Before firing: silver particles + water + organic binder.
After a successful fire: fine silver object with a sintered, often porous structure.
That is why "it says 999" does not mean "it behaves like a cast band from a jeweler." Cheap clay that feels sandy, yellows oddly, or hides scrap metal inclusions also shows up in quality complaints. Purity marketing is not the same as good working clay.
Safety Boundaries
Home firing involves open flame or high heat. Non-negotiables:
- Stable fireproof surface
- Ventilation
- Eye protection and common-sense burn safety
- No loose hair or sleeves near flame
- Pets and kids out of the workspace
- Do not invent kiln temperatures from memory if your package lists a schedule
If you are uncomfortable with flame craft, take a class or stick to purchased findings. There is no prize for unsupervised bravery.
A Cautious Home Workflow
Exact minutes differ. The shape of a successful beginner process often looks like this:
- Sculpt and refine on a nonstick surface
- Dry fully
- File the dry blank
- Fire on a supported, heat-safe setup using the brand method
- Cool safely
- Brass-brush or scrub white sintering residue
- Sand and polish
- Add stones only if they are rated for your process, or set them after firing with an appropriate method
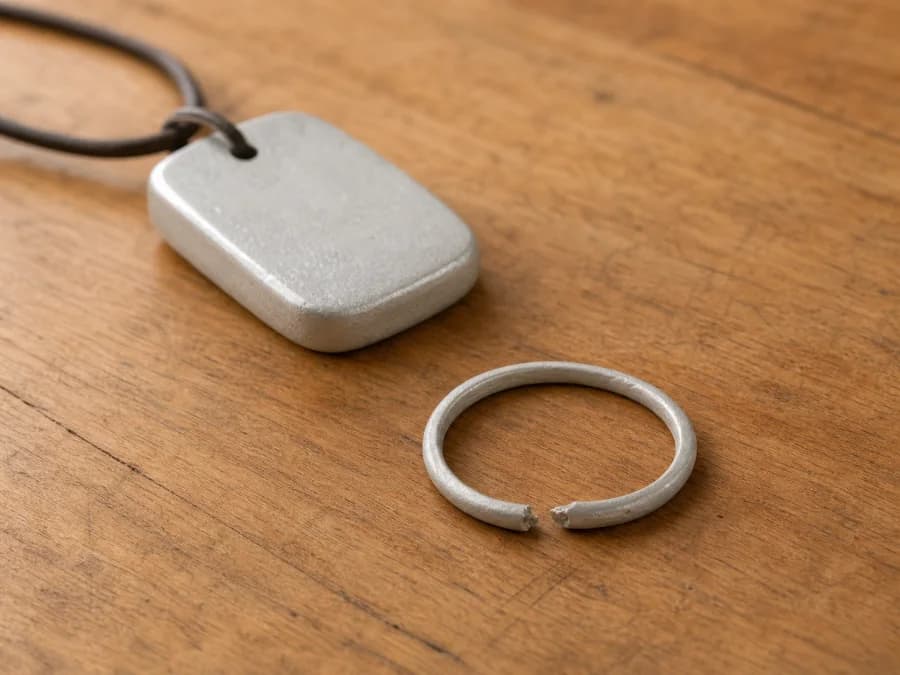
One maker's gas-stove note described short low flame, then medium, then hotter flame until a white metallic look appeared, then brushing and polishing. Another beginner got conflicting shop advice: one seller said burn until red with a greenish flame cue; another said do not require red heat; thin rings still snapped during polishing. Disputed: visual "done" cues. Not disputed: thin rings fail a lot.
Ring and Structure Pitfalls
These designs show up as break stories:
- Open adjustable rings that flex on and off
- Lace-thin shanks
- Ultra-light rings made from barely enough clay
- Bending a fired ring "just a little" to resize
Sturdier approaches makers recommend:
- Pendants and charms first (less flex, less heartbreak)
- Enough mass in load-bearing sections
- A metal band or wire "rebar" with clay as the decorative jacket
- Leave room for shrinkage when planning stone seats (community claims around a few percent shrinkage appear often; confirm with your brand)
If a piece must be a ring on week one, design thick, closed, and boring. Fancy comes later.
Kiln vs Torch vs Stove Arguments
Some makers say torch heat is too uneven and prefer a kiln. Others succeed with careful torch or gas-stove schedules. Equipment debates are endless because clay formulas and part thickness differ.
Beginner rule: pick one documented method for your product, run scraps, then commit. Switching folklore mid-piece is how you get mysterious failures.
Quality Control Before You Blame Yourself
If clay feels like wet sand, leaves weird residue, or reveals foreign metal flakes, stop and contact the seller. Several beginner threads blamed skill for what looked like material quality problems. Skill matters. Materials do too.
Key Takeaway
Home-fired silver clay is a real craft with real limits. Dry completely, follow the manufacturer, design for porous sintered silver instead of fantasy cast strength, and let pendants teach you before skinny rings do.
References
Editorial synthesis of private craft-discussion research notes on silver clay home firing, disputed heat cues, polishing breaks, ring structure failures, and material quality complaints (2026-07-29). Always defer to the clay manufacturer's firing schedule for temperature, time, and equipment.
Founder & Editor
Micky is the founder and editor of NookPetdia, sharing practical cat-care guidance and product-fit advice for everyday cat parents.
Written by Micky. Read our Editorial Policy.
FAQ
Frequently asked questions
New on NookPetdia
Latest articles
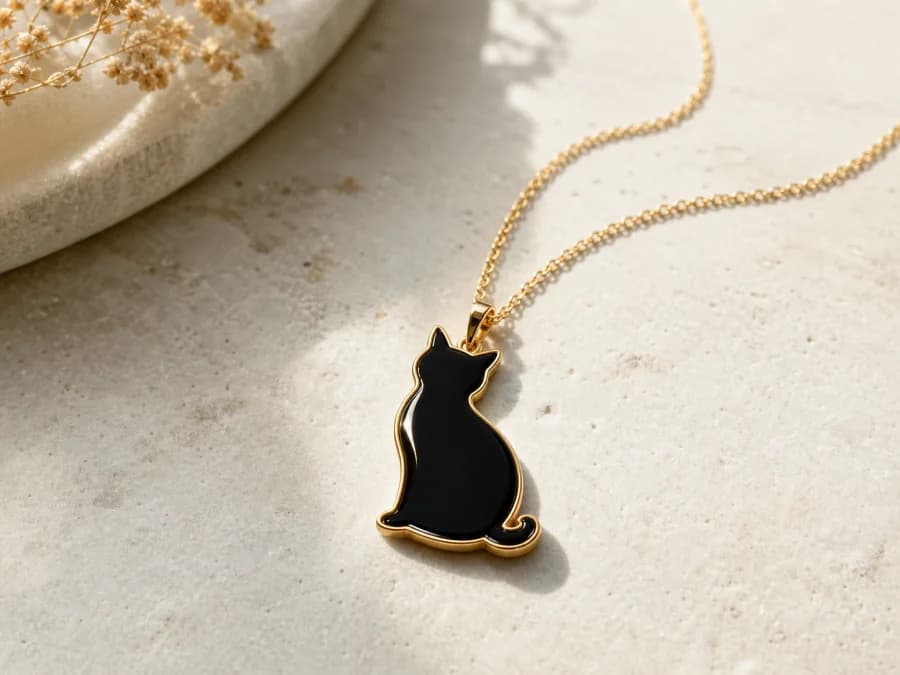
Black Cat Jewelry Guide (Style, Meaning, Gift Timing)
Black cats are the hardest subject to render in a small pendant and the best subject for silhouette work. Here is which styles hold up, what the symbolism actually carries, and the two dates worth planning a gift around.
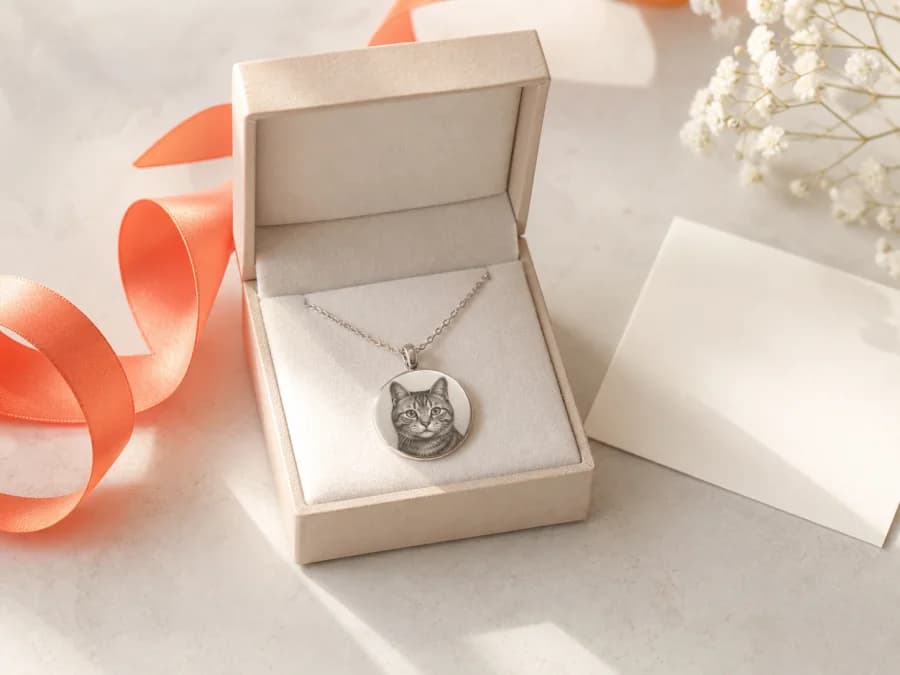
Cat Mom & Cat Dad Gift Ideas That Aren't Cheap Charms
Most cat-themed gifts are novelty items that get used twice. Here is how to buy something a cat parent keeps — including what to confirm about metal, sizing, and timing before you order anything personalized.
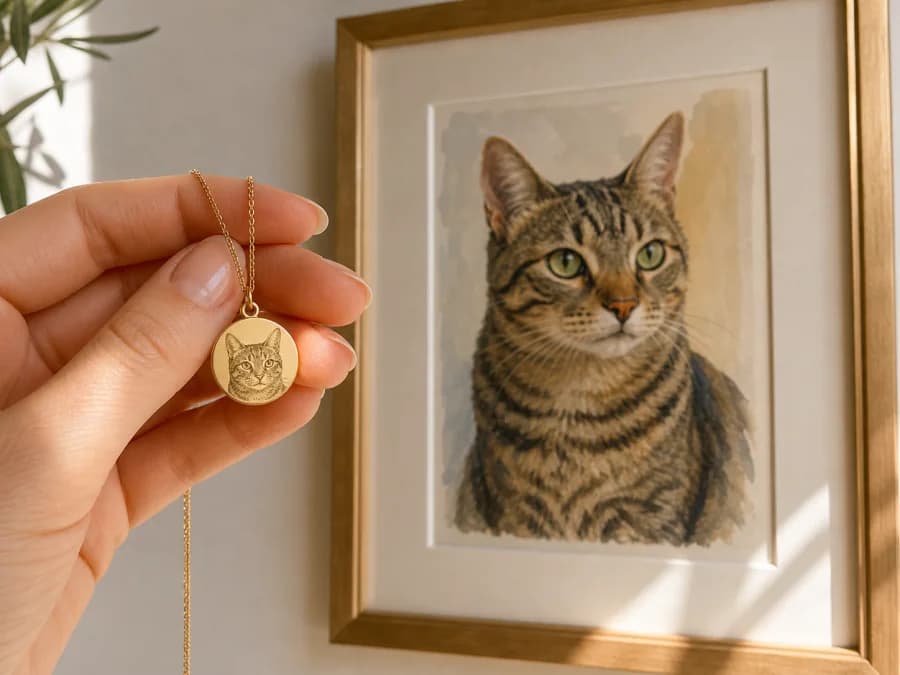
Custom Pet Portrait Jewelry vs Print: What's Worth Buying
Wearable portrait jewelry and framed pet portraits solve different problems. Here is how they compare on likeness, cost, durability, and daily use — and which one to commission first.