Beginner clay kits sell the fantasy of a complete studio in one box. In the maker notes we reviewed, people who had been sculpting for a year or more kept repeating the same advice: buy a few tools that work, ignore the rest, and add things only after you know what you reach for.
This list is for stone plastic clay fridge magnets, charms, and small ornaments. It is not a ceramics studio shopping list.
AI Summary
Overview
Must-haves: metal sculpting tool, water brush, rolling pin or smooth bottle, scissors, 600/1000 grit sanding surfaces, paint, and a topcoat if you want protection.
Nice-to-haves: sponge sanding pads, nail buffer for edges, fine detail brushes or acrylic markers, tracing paper for transfer patterns.
Optional: a heating cup warmer with a physical switch. Not required for air drying.
Skip most "giant clay gift sets." Makers often call those tools awkward and unused.
Shaping Tools
Metal spatula / carving knife. Plastic tools flex and chew the clay. A simple metal set is enough for seams, edges, and tiny cuts.
Water brush or damp brush. Stone plastic clay joins better with a little water. A water brush (the kind with a reservoir) shows up constantly in beginner advice because it smooths fingerprints and seam lines without flooding the piece.
Detail needle or pin tool. Useful for tiny lines, nostrils, lettering guides, and prying clay out of awkward corners.
Rolling pin or clean bottle. For flat magnet blanks and even slabs. You do not need a fancy pasta machine on day one.
Scissors. For cutting slab edges and trimming paper templates.
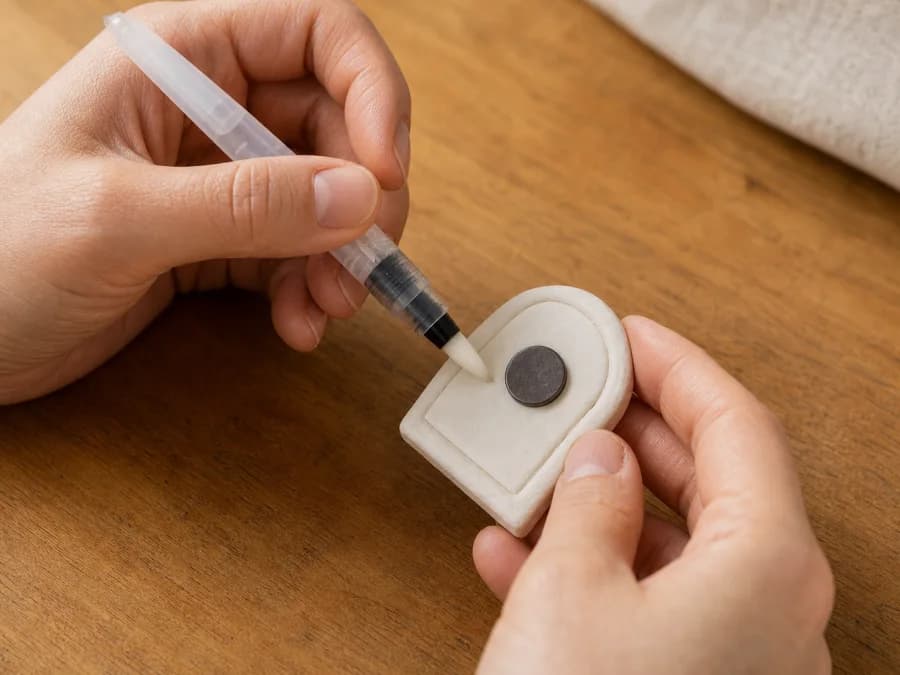
Sanding Tools for the Dry Blank
Sanding is where stone plastic clay earns its keep. You can leave soft clay imperfect, then refine the dry "white blank."
Common starter grits from maker reports:
- Around 600 grit for shaping and leveling
- Around 1000 grit (or higher) for smoothing
- Sponge sandpaper if you want pads that last and curve with the form
- A damp wipe or wet brush at the end to lift dust instead of grinding dry powder into the air
Some makers also use a dry scrap of cured clay as a burnisher. Nail buffers help on tiny edges. For the full sanding method and dust precautions, see sanding stone plastic clay.
Painting and Sealing
You can paint with:
- Acrylic paint plus a fine brush
- Acrylic paint markers (often recommended for beginners because they are less streaky)
- Nail-art brushes for tiny lines
Sealers people mention include gloss varnish and nail "hardening" top coats. Whatever you choose, ventilate. Strong-smelling sprays and some gloss coats are a common complaint in craft chats. A mask helps for sanding dust; for solvent-heavy sprays, outdoor or strong exhaust is wiser than hoping a cloth mask fixes everything.
Let paint dry fully before sealing. Rushing here causes sticky messes and peeling later. More on that in common mistakes.
Optional Helpers
Heating cup warmer. Speeds drying. It is not mandatory. If you buy one, makers repeatedly prefer models with a real on/off switch over auto-sensing pads, and they warn against fragile glass-top designs that can fail dramatically. Details and drying pitfalls live in drying stone plastic clay.
Tracing / pearlescent copy paper. Useful for transferring a sketch onto a flat blank.
Armature wire or aluminum wire. Only when a piece needs support. Thin unsupported limbs crack; buried wire can also create stress lines if the clay is thin around it.
Magnets and glue. For fridge magnets, many experienced makers prefer attaching magnets after sealing rather than burying raw magnets inside damp clay. Embedded magnets that rust or swell are a recurring long-term failure story.
What Not to Buy First
- Oversized "stone plastic clay mega kits" full of mystery plastic tools
- Every grit of sandpaper from 80 to 5000
- A kiln, air fryer, or oven "system" before you understand air drying
- Industrial spray booth gear for a first cookie-sized magnet
Buy the next tool when you notice a repeated friction, not when a shopping video says you are incomplete without it.
A One-Afternoon Starter Basket
If you want a boring, useful cart:
- One labeled pack of stone plastic clay (see how to choose clay)
- One metal tool set
- One water brush
- 600 + 1000 grit sanding pads
- One acrylic marker set or a small acrylic paint tube set
- One clear topcoat
- Strong magnets and glue rated for crafts
That is enough to finish a first magnet without turning your desk into a hardware aisle.
Key Takeaway
Stone plastic clay rewards a short tool list used carefully. Shape with metal and water, dry fully, sand with a couple of grits, paint, seal, then stop shopping until the process teaches you what is missing.
References
Editorial synthesis of private craft-discussion research notes on stone plastic clay tools, sanding setups, and beginner kit complaints (2026-07-29).
Founder & Editor
Micky is the founder and editor of NookPetdia, sharing practical cat-care guidance and product-fit advice for everyday cat parents.
Written by Micky. Read our Editorial Policy.
FAQ
Frequently asked questions
New on NookPetdia
Latest articles
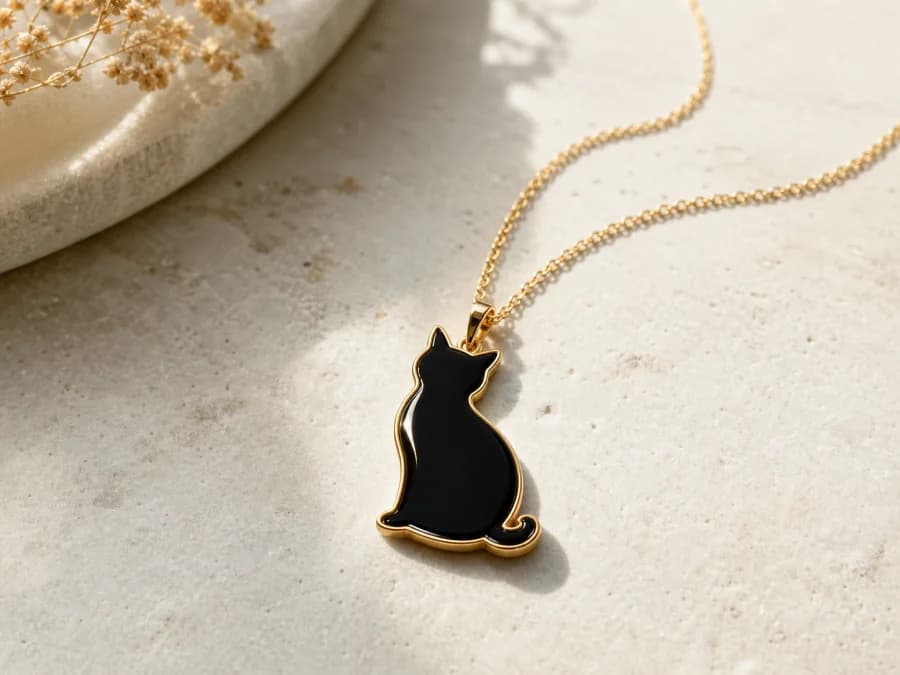
Black Cat Jewelry Guide (Style, Meaning, Gift Timing)
Black cats are the hardest subject to render in a small pendant and the best subject for silhouette work. Here is which styles hold up, what the symbolism actually carries, and the two dates worth planning a gift around.
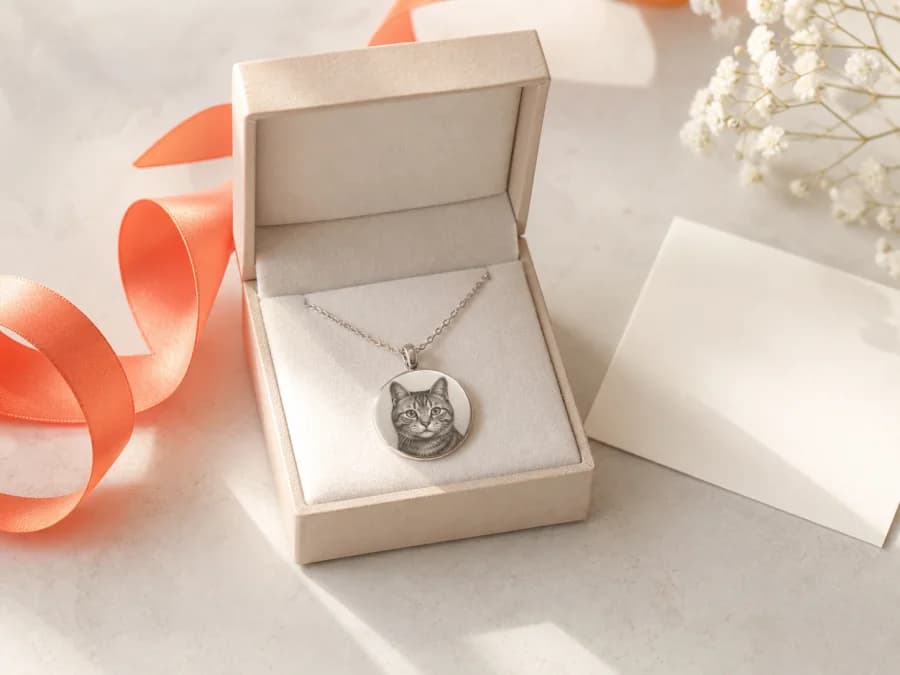
Cat Mom & Cat Dad Gift Ideas That Aren't Cheap Charms
Most cat-themed gifts are novelty items that get used twice. Here is how to buy something a cat parent keeps — including what to confirm about metal, sizing, and timing before you order anything personalized.
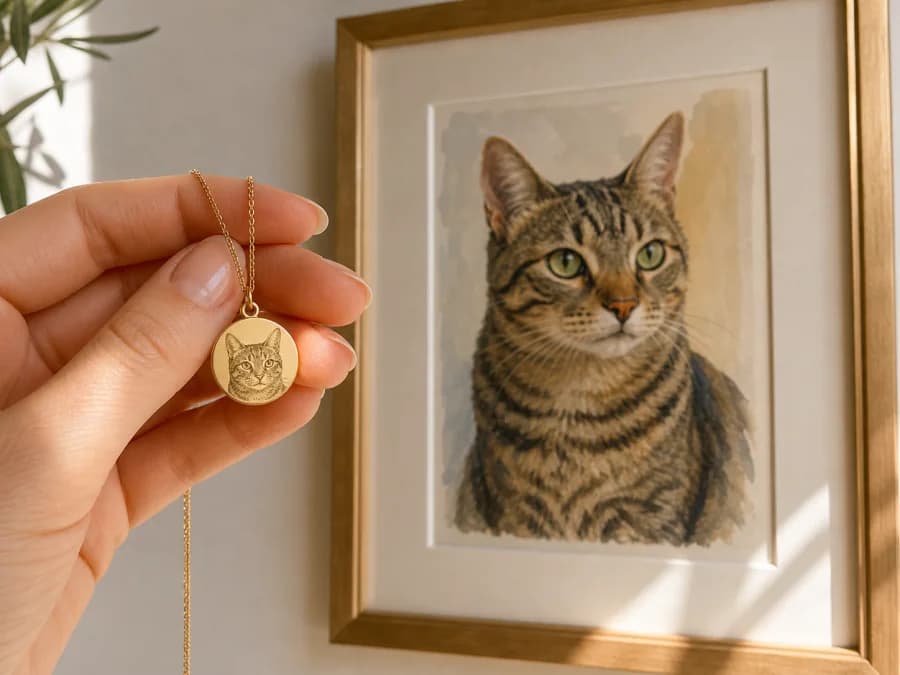
Custom Pet Portrait Jewelry vs Print: What's Worth Buying
Wearable portrait jewelry and framed pet portraits solve different problems. Here is how they compare on likeness, cost, durability, and daily use — and which one to commission first.